[SC]()

iOS. Apple. Indies. Plus Things.

Basing Indie Releases in Term of Goals

// Written by Jordan Morgan // Mar 15th, 2024 // Read it in about 2 minutes // RE: SwiftUI

This post is brought to you by Emerge Tools, the best way to build on mobile.

As per usual, I set out for 2024 with goals aplenty. This should be not be surprising, coming from someone who wrote their own internal goal tracking app over Christmas break in 2022. Going indie is something I’d love to try at least once, so that’s what I base a lot of my work on. But as I began to think about what it would actually take to go indie, I realized I have quite the climb in front of me.

My wife stays at home, I have three kids and all of them are in sports (which, well, means 💸). As my good friend Mr.Selig put it, I am doing indie on “hard mode”. Oh, and let’s not forget how aFfOrDaBle American healthcare is (hint - it costs more than my mortgage). All of that to say, I’d need to be at around $20,000 MRR1 to even begin to start sniffin’ indie life.

let concatenatedThoughts = """

Is it possible? Absolutely. Is it easy to achieve? Obviously, it's not. My good friends at Revenue Cat even hinted as much in their annual report, which states that a large number of subscription apps don't even break $2,000 MRR.

"""

Everything I do has to be with a pointed focus, which is also one of several reasons behind me joining the team at Superwall — getting to see how people have done it before is very rewarding and fun. I learn a lot and enjoy the job. With all that said, I realized that even though I’m trying to build to $20,000 MRR — I do need to do it in a way I actually enjoy.

Choosing Themes

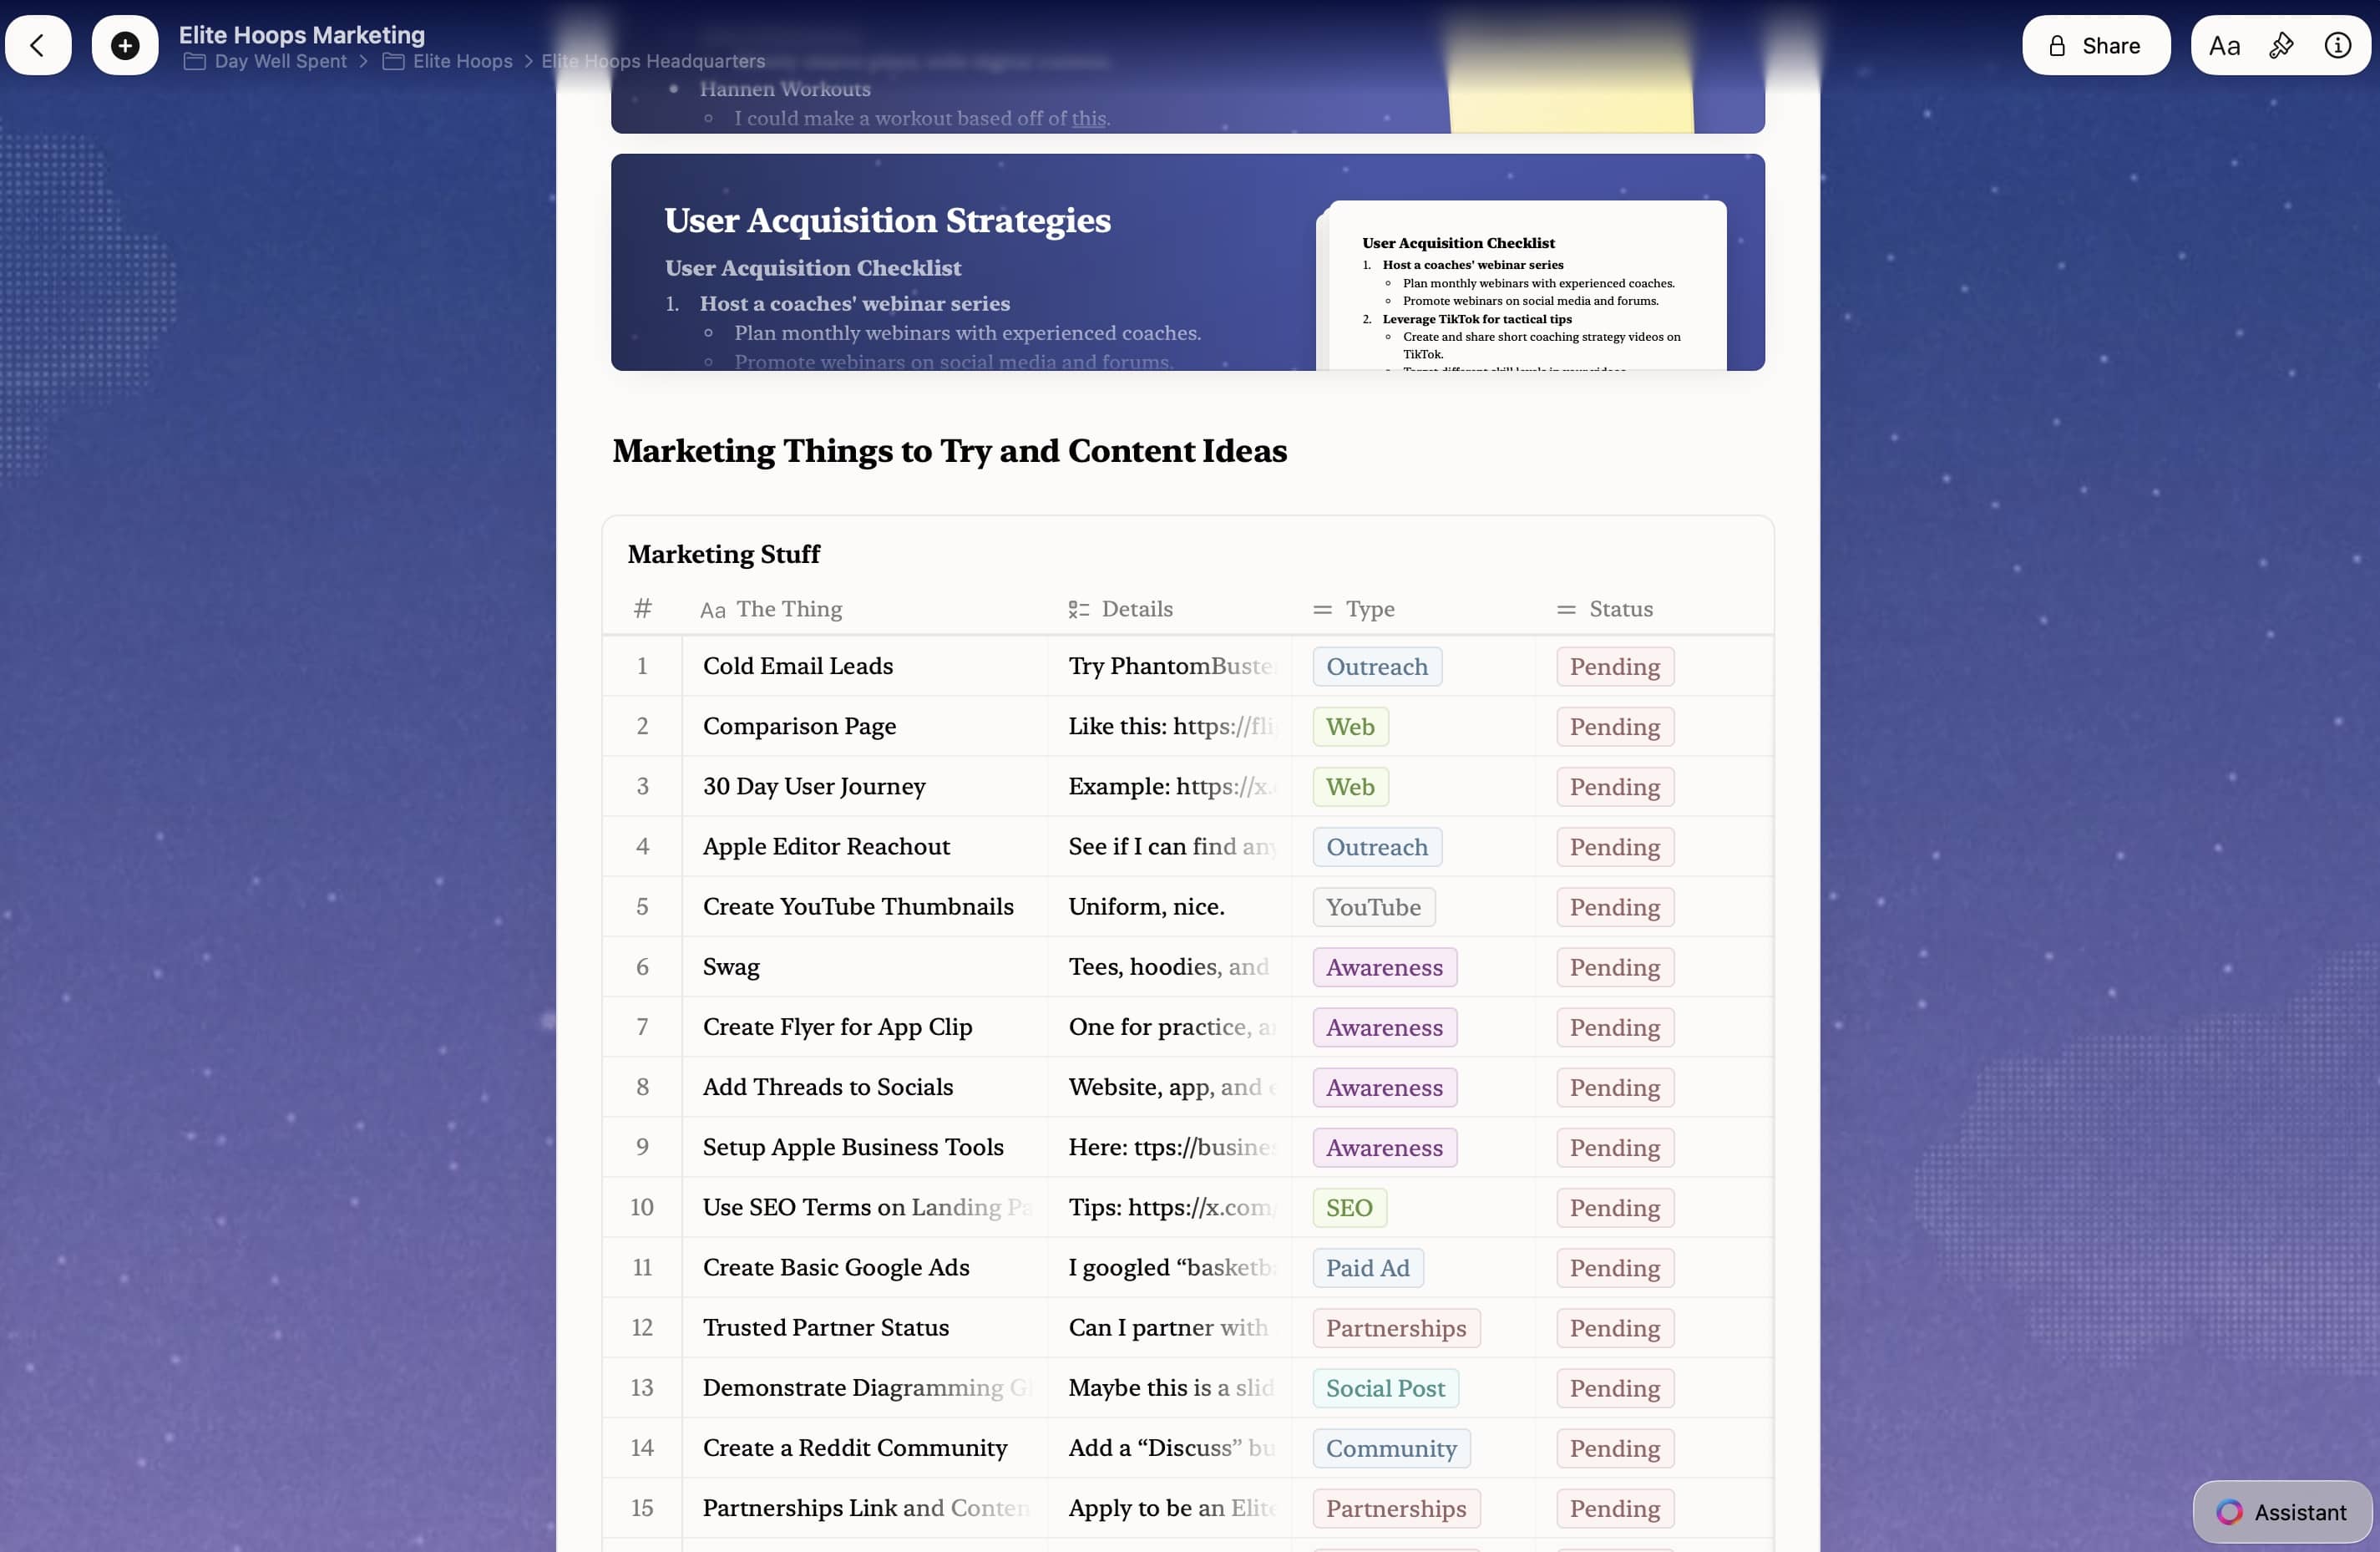
To that end, I’ve decided to build things that I love to work on, that could monetize, and each for their own specific reason. Everything has to help me in some way financially, but if my theme is to inch towards that $20k MRR mark, I decided that I should assign everything I work on to a specific goal supporting it.

Here are the four main themes I came up with:

  1. Build a business: My primary source of income at the beginning.
  2. Test a hypothesis: Testing things is important, so here I’d pick something I think could make money and see what happens.
  3. For the love of the game: Indie life means freedom in many ways, and I love expressing that through software. This project would make money, but likely not as much as the above projects. It will be where new iOS APIs go in, be the one “I love” — basically, it’ll be my Spend Stack all over again, but with more earning potential.
  4. Learn to embrace constraints: I’m not great at saying no (though I’ve gotten better), but I want to learn how to ship a bit faster, and refine things as I go. This project should embody that.

And so, I’ve got projects picked out for each of those themes:

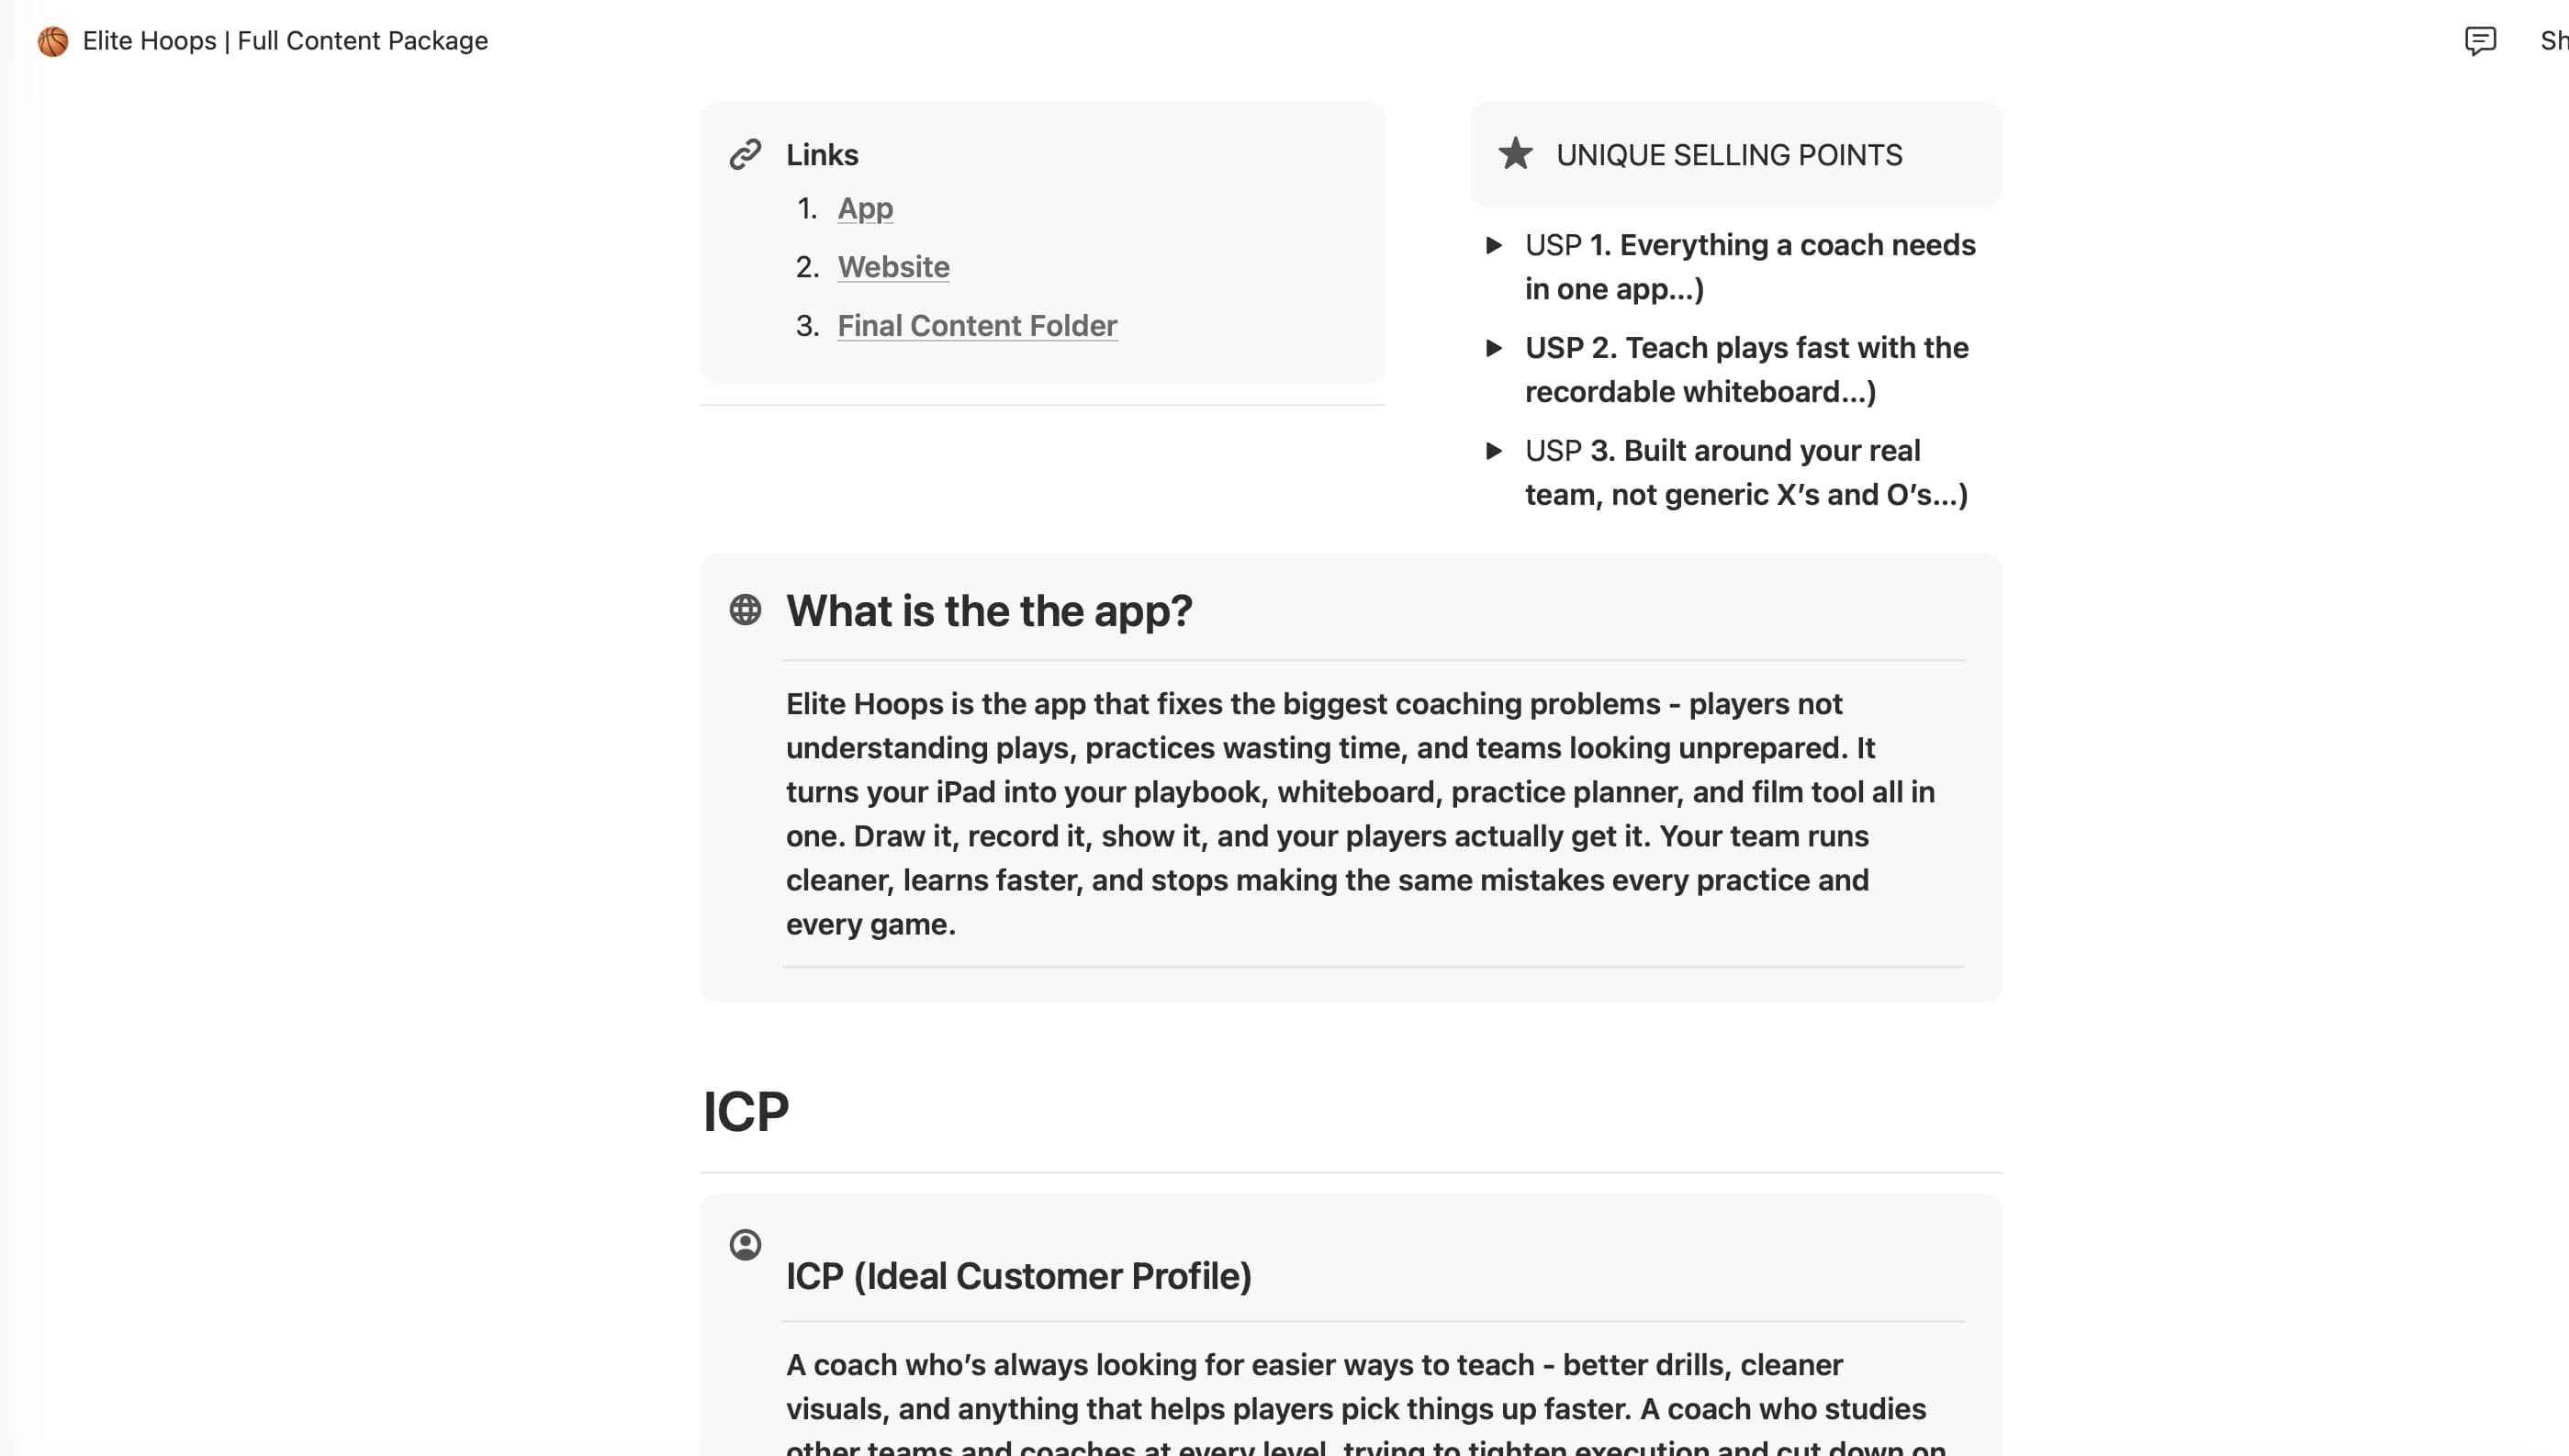
Four app icons, and each has a corresponding goal next to it.

The first goal is being accomplished through Elite Hoops, and the second will be my upcoming soccer spin on it. The other two? Too early to share, but especially that third one - I’m excited about. I’ve tweeted once or twice about it. Aside from apps, I do have two other source of income:

  1. My book series: It still sells a few copies each week, and I’ll update it each W.W.D.C. - it’s nice side income, but I’m not really counting it much for my indie aspirations.
  2. Sponsorships: I sell sponsorships for this very site, and those have gone over and above my expectations. This year, I even did an annual deal with the folks at Emerge — and I’ve had three inquiries from companies looking for a similar deal in 2025.

So, I’ve got a bit of a head start. And hey - Elite Hoops is just about at $2,500 MRR. So, there’s my grand plan. At least four apps I’ll really love to work on, hopefully making money, doing it in different ways, all slowly (or quickly, that would be nice too) pushing me to $20,000 MRR.

Until next time ✌️.

  1. MRR means monthly recurring revenue, or the amount of money your subscription business makes when you take into account your subscriptions divided by 12 (roughly speaking - since there can be different subscription terms aside from annual ones). 

···

Fun Alignment Guide Tricks

// Written by Jordan Morgan // Feb 9th, 2024 // Read it in about 3 minutes // RE: SwiftUI

This post is brought to you by Emerge Tools, the best way to build on mobile.

Setting your own vertical or horizontal alignment guide isn’t something I’ve thought about much when writing my own SwiftUI code. When they were announced, and later demo’d during a dub dub session in SwiftUI’s early days, I remember thinking, “Yeah, I don’t get that. Will check out later.”

Lately, though, I’ve seen two novel use cases where using one is exactly what was required. Or, at the very least, it solved a problem in a manageable way.

Rather than write out a bunch of code myself, I’ll get straight to it and show you the examples from other talented developers.

Creating the “Bottom Sheet”

Life, death and creating our own bottom sheet implementation, right? Sheet presentations have become more doable with the nascent iOS 16.4 APIs, allowing developers to set backgrounds and a corner radius on them. But, every now and then, you just have some weirdo requirement that necessitates rolling up your sleeves and doing it yourself.

The first inclination I’ve often seen is to use some sort of ZStack, .padding or .offset incantation:

@State private var bottomSheetOffset: CGFloat = 0.0

GeometryReader { geometry in
    VStack {
        Text("Sheet Content")
    }
    .frame(width: geometry.size.width, 
          height: geometry.size.height, 
          alignment: .top)
    .clipShape(
        UnevenRoundedRectangle(topLeadingRadius: 32, 
                               topTrailingRadius: 32, 
                               style: .continuous)
    )
    .frame(height: geometry.size.height, alignment: .bottom)
    .offset(y: bottomSheetOffset)
}

Or, maybe some sort of .transition:

@State private var showBottomSheet: Bool = false 

NavigationStack {
    // Content
    if showBottomSheet {
        VStack {
            Spacer()
            VStack(spacing: 18) {
                // Sheet content                
            }
            .padding([.leading, .trailing, .bottom])
            .background(.thickMaterial)
            .clipShape(RoundedRectangle(cornerRadius: 24, style: .continuous))
            .padding()
        }
        .safeAreaPadding([.bottom], 40)
        .transition(.move(edge: .bottom).animation(.easeInOut(duration: 0.3)))
    }
}

Me? I’ve done the ZStack route before:

VStack {
    // Content
}
.overlay {
    ZStack {
        // Background dim
        Color.black
            .opacity(0.15)
            .onTapGesture {
                dimissOnCurtainTap()
            }
        // Container to easily push the UI down
        VStack {
            Spacer()
            // The UI
            VStack {
                // Sheet content
            }
            .padding(8)
            .frame(minWidth: 0, maxWidth: .infinity)
            .frame(height: containerHeight)
            .background {
                RoundedRectangle(cornerRadius: theme.screenCornerRadius)
                    .fill(Color(uiColor: .systemBackground))
                    .padding(EdgeInsets(top: 0,
                                        leading: contentPadding,
                                        bottom: contentPadding,
                                        trailing: contentPadding))
            }
            .offset(y: containerYOffset)
        }
    }
    .ignoresSafeArea()
    .opacity(internalIsPresenting ? 1 : 0)
    .allowsHitTesting(internalIsPresenting)

They all mostly work (to varying degrees), but here’s an approach from Ian Keen I liked using an alignment guide:

VStack {
    // Content
}
.overlay(alignment: .bottom) {
   Color.white.frame(height: 50)
      .alignmentGuide(.top) { $0[.bottom] }
}

That’s an abridged version, you’d still need to hook in the offset to show it, but the idea is that to actually place the bottom sheet — you use .alignmentGuide(.top) { $0[.bottom] }. This basically says “align this content’s top origin to the parent’s bottom origin”, which puts the bottom sheet in the right spot to later present.

Smooth Animations

Ben Scheirman had a great example showing how alignment guides can give you the animation you could be after. I’d encourage you to read his post on the matter, though the gist is that by using alignment guides — he can get two rectangles in a ZStack to animate left and right smoothly from the center (they begin one on top of the other):

@State private var isLinked: Bool = false 

ZStack {
     BarView()
         .alignmentGuide(HorizontalAlignment.center) { d in
             d[isLinked ? .center : .trailing]
         }
     BarView()
         .alignmentGuide(HorizontalAlignment.center) { d in
             d[isLinked ? .center : .leading]
         }
 }

The result is that they “split” from the center, evenly. Without using alignment guides for this particular scenario, SwiftUI’s layout system can have some unintended effects on the resulting animation. His post shows this clearly with some pictures, go check it out.

If you want to dig in a bit deeper over how alignment guides work, I’d recommend reading these posts:

  • Paul Hudson has a great, overall explainer (as he always does).
  • SwiftUI Lab has an insane, in-depth post on the matter (and, as he always does).

When I don’t really “get” an API, I find the only way I learn it is by getting to the point where I can answer this question:

When would this API help me? Would I know when to reach for it?

After seeing these examples and then going back to the docs, I feel like I’m getting there with alignment guides.

Until next time ✌️.

···

Pricing Indie Apps: The Perks of a Wallflower Rule

// Written by Jordan Morgan // Jan 26th, 2024 // Read it in about 1 minutes // RE: The Indie Dev Diaries

This post is brought to you by Emerge Tools, the best way to build on mobile.

If there’s one thing I’m a sucker for, it’s the “coming of age” indie flick.

Paper Towns? Loved it.
Me, Earl and the Dying Girl? Absorbed me.
The Florida Project? That one wrecked me.

Which brings us to one of my favorites: The Perks of Being a Wallflower. In particular, this quote:

The protagonist, a high school teenager wrestling with young puppy love, expresses his confusion over why the girl he so covets dates someone who is (wait for it)…kind of a jerk?

His english teacher drops some sage wisdom with the now classic line:

We accept the love we think we deserve.

Aside from being an excellent line, I’ve been thinking about how much this correlates to indie apps too. And so here I am wondering, are we pricing our apps according to what we simply think that they are worth? Because if we are, well - then we’re doing something iOS indies do all too much: undervaluing our work.

When I think back about Spend Stack, I fondly remember how it was positioned: It’s a $2.99 app. Though, when we price something, we are also inherently telling a story before anybody ever downloads it: “It’s worth this much.”

I don’t think we give enough weight to that line of thinking.

With Elite Hoops, I wanted to (if anything) overprice it at launch. Even though I consider it in an M.V.P. state still, I boldly said to users that they should pay me $40 a year for it, or $10 a month or $149.99 for a one-off payment.

Now, three months later, I think I underpriced myself. But, when I look at my own app - all I see are the holes. The missing features. The rough edges. The animation that, after hours of tweaking, still just doesn’t feel quite right.

Consumers, by and large, will not have the same eye as you. In a truism that we all say we know but don’t often practice - they just want something to solve their problem. And Elite Hoops does that. And so I charge a good little sum for it.

Is there nuance here? Absolutely. If your app sucks, none of this matters. But if your app is even just okay in your indie eyes, but does something useful - then don’t undercharge for it. Don’t worry about the forum comments, Reddit posts or tweets that say you’re “another subscription” or whatever else. You’ll get that even if you charged $1.00.

But, when you look at the indie scene - do I firmly believe that there are more folks underpricing their apps than overpricing them. Absolutely.

You could rely on the intricate complexities of pricing theories, or you could simply charge a little bit higher than what you think you can get away with - and then let the market truly adjust from there. So when I talk to to other indies, I always encourage them to follow “Perks of Being a Wallflower” pricing: Charge the amount that you truly think you deserve.

Until next time ✌️.

···

Using Keychain Access to Store Sensitive Data

// Written by Jordan Morgan // Jan 14th, 2024 // Read it in about 1 minute // RE: macOS

This post is brought to you by Emerge Tools, the best way to build on mobile.

Here’s something I didn’t know about Keychain Access on macOS - secure notes. After a little research, it seems to be a sensible place to store your sensitive data. Just open it up, and choose File -> New Secure Note Item:

A screenshot of Keychain Access.

Recently, I was moving off of 1 Password, where I had previously stored my social security numbers. Previously, I had relegated Keychain Access to simply managing passwords or certificates, I had no idea you could use it for something like this. If you put the file in your iCloud keychain, it’ll also sync to your other devices.

It goes to show you that macOS is always the dog that’s teaching you new tricks. It wasn’t but a few months ago that I learned you could setup 2FA codes within macOS’ password screen:

A screenshot of setting up 2FA in Password Settings.

Which is phenomenal, because you know what isn’t great? Literally every 2FA app - iOS, macOS or otherwise.

Until next time ✌️.

···

Using @Binding with @Environment(Object.self)

// Written by Jordan Morgan // Dec 31st, 2023 // Read it in about 2 minutes // RE: SwiftUI

This post is brought to you by Emerge Tools, the best way to build on mobile.

iOS 17 brought us more changes to how we manage state and interface changes in SwiftUI. Just as we were given @StateObject in iOS 14 to plug some holes - the Observation framework basically changes how we manage state altogether. However, if you’re just moving to it as I am, you may get confused on how bindings work.

Traditionally, with the “old” way, we could snag a binding to an observed object like this:

class Post: ObservableObject {	
	@Published var text: String = ""
}

struct MainView: View {
	@StateObject private var post: Post = .init()

	var body: some View {
		VStack {
			// More views
			WritingView()
		}
		.environmentObject(post)
	}
}

struct WritingView: View {
	@EnvironmentObject private var post: Post

	var body: some View {
		TextField("New post...", text: $post.text)
	}
}

However, with Observation, passing around the post works a little differently. If you’re like me, you might’ve thought getting a binding to mutate the text would look like this:

@Observable
class Post {	
	var text: String = ""
}

struct MainView: View {
	@State private var post: Post = .init()

	var body: some View {
		VStack {
			// More views
			WritingView()
		}
		.environment(post)
	}
}

struct WritingView: View {
	@Environment(Post.self) private var post: Post

	var body: some View {
		// ! Compiler Error !
		TextField("New post...", text: $post.text)  // Cannot find '$post' in scope
	}
}

I haven’t watched the session over Observation in some time, so I was puzzled by this. It turns out, you create a binding directly in the body:

struct WritingView: View {
	@Environment(Post.self) private var post: Post

	var body: some View {
		@Bindable var post = post
		TextField("New post...", text: $post.text)
	}
}

This is mentioned directly in the documentation as it turns out, with an identical example as seen here:

Use this same approach when you need a binding to a property of an observable object stored in a view’s environment.

I don’t know why @Bindable was designed like this, I’m sure there is a technical reason, but as an API consumer it seems counterintuitive. Which is odd, considering all of the ease of use the Observation framework brings. Regardless, another solution proposed in a thread over the issue mentions that you could drop the object through another view:

struct WritingView: View {
	@Environment(Post.self) private var post: Post

	var body: some View {
		PostTextView(post: post)
	}
}

struct PostTextView: View {
	@Bindable var post: Post
	
	var body: some View {
		TextField("New post...", text: $post.text)
	}
}

So, if you get stuck with grabbing a binding to an Observable object - you can use either of these approaches.

Until next time ✌️.

···